This article will walk you through creating a Claim ticket in the Service Center
Creating a Claim Ticket in the Service Center is a very simple process (by design). You simply start by clicking on the green Create New Service Opportunity in the top right of the pipeline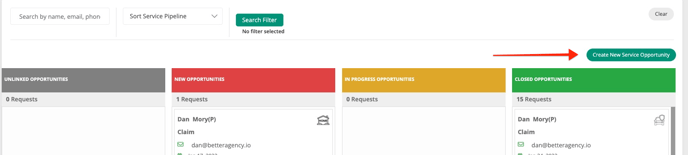
Once you click on that button, a new window will open up. If you wish to create a Claim ticket, then you just need to click on the toggle switch that says Service and it will change to Claim.
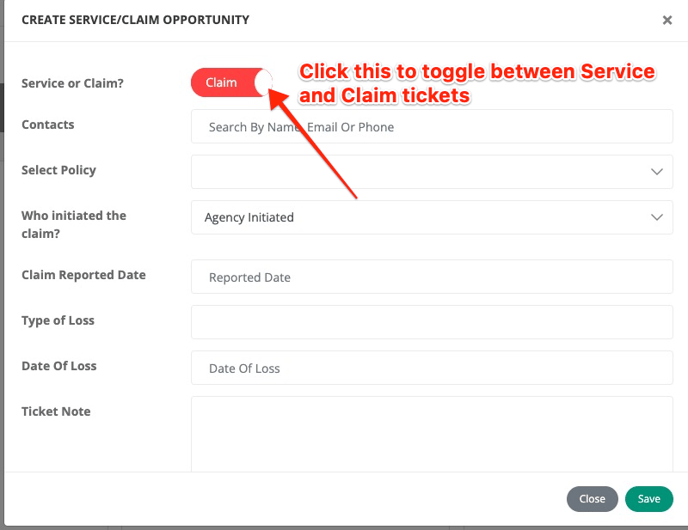
You will also see the fields available to type info in to on the Claim ticket. You can search for a contact and select them, then you can choose from that contact's policies, if it was Claimant or Agency initiated, the Report Date, the Type of Loss, the Date of Loss, any notes about the claim, the assigned owner, and a section to upload any attachments to the ticket.
Once you move the ticket to Closed, you will see a box appear to enter in the total payout amount which will populate to your Claims Report.
Video: